Monday, March 31, 2014

Zentangles

Some of my zentangle designs, just for fun.


Glaze Tests

Here are some of the glaze tests and texture tiles from the Year 11 Fairvale High School art class for their Nude Fruit project. They were looking at some textures and glazes to go with their sumptuous and interesting drawings based on fruit.


Work in Progress at Fairvale, Artist Residency Project

Here are a few more pictures of the Year 9 & 11 visual art students working hard at Fairvale High School. Their art teacher Ms Haberecht  has really inspired them to create some very well-developed A2 drawings of their ideas, as well as helping them continue building when I'm not there... I'm amazed at how imaginative so many of their creations are... I've been adding to their techniques and ideas about how to develop their sculptures. Other ways of creating three-dimensional sculptural objects with clay include using the extruder, and coiling.


We also rubbed some underglazes and oxide onto our fired texture tiles.


Nude Fruit Clay Project


The Year 11s also tried out various construction methods for their Nude Fruit organic project.  Not only did they have a go with cardboard tube cylinders, I also got them to try less formal shapes, such as slumping clay over the rounded arm of a mannequin. Again, we sprayed the surface with a bit of olive oil. The idea was to get an organic rounded form. As the project entails an anthropomorphic human quality to the objects, the use of a mannequin was fortunate.


I also brought in a few plaster moulds of interesting patterns and textures, and the school already had a good library of existing plaster mould shapes, which were used to obtain interesting impressed surfaces in the clay.
The idea was to create a variety of forms as component parts and then mix and match the shapes.


Mechanical Object Project at Fairvale High School Year 9 Art Class


Various Construction Methods
During the first few weeks of  this project, I demonstrated various ways of constructing shapes out of clay. The students tried out the methods straight away and began working on a small marquette based on their original drawing. 


The above image shows how to use foam packaging (from packaging you get when you buy household appliances such as printers, microwave, etc.) It has to be the sturdy foam, not the stuff that collapses and crumples into beads. Some of the students needed to get an industrial aesthetic for their object, so the geometrical shapes, squares and imprints in the foam were perfect. You need to lightly spray the foam with oil before applying the rolled-out slabs of clay. Household olive or canola oil is fine. But be careful about applying underglaze to an unfired surface that has the oil, as it won't take it as well. Better to apply it after bisquing, or try to wipe it off, or avoid the section that may need the colour.


Students trying out some of the various foam shapes for their marquettes.


I also demonstrated using cardboard rolls wrapped in newspaper as armatures to get cylinder shapes. 

Monday, March 17, 2014

First Week of the Artist in Residency at Fairvale High School

Here are some of the projects being undertaken at Fairvale High School.
Year 9 Visual Art class with Ms Haberecht have a 'Mechanical Thing' project. It develops their work from last year where they had built a sculptural object from found objects.  They were already up and running with their drawings and ideas. This term they will make their individual works in clay and glaze the final pieces.

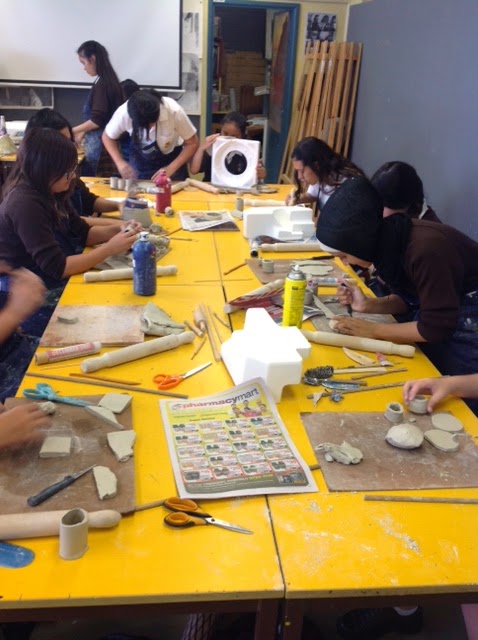
To get the students thinking about surfaces, textures and imprinting, they started off rolling out their own tiles from slabs of clay with rolling pins.
They then were instructed to try out different imprints from a variety of objects collected in the classroom: i.e. left-over pieces of electronics, toys, plastic blocks, wheels, cogs and small pieces of machinery.

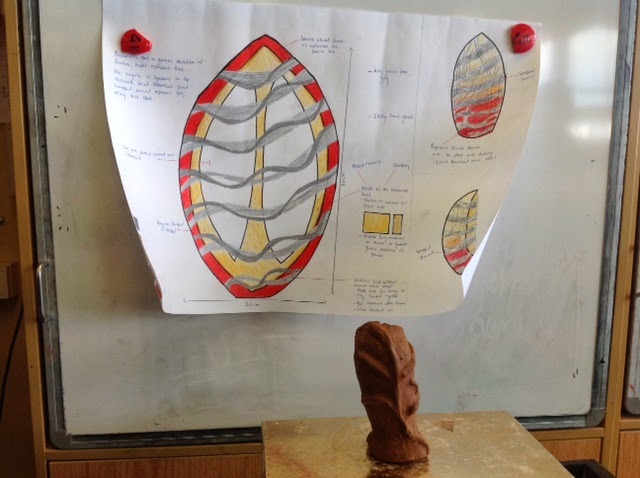
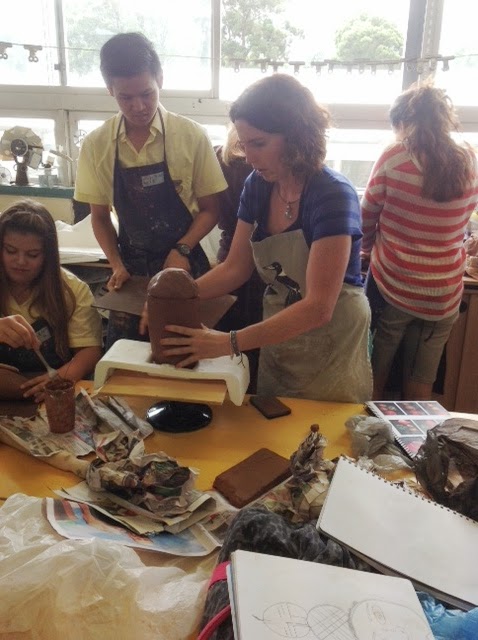
The Year 11 Visual Arts class with Ms Haberecht were working on a 'Nude Fruit' project. Again, they had comprehensively developed a theme around fruit - having drawn and photographed and painted fruit in a number of different mediums last term. Now they are looking at hand-building in clay an anamorphic fruit object.

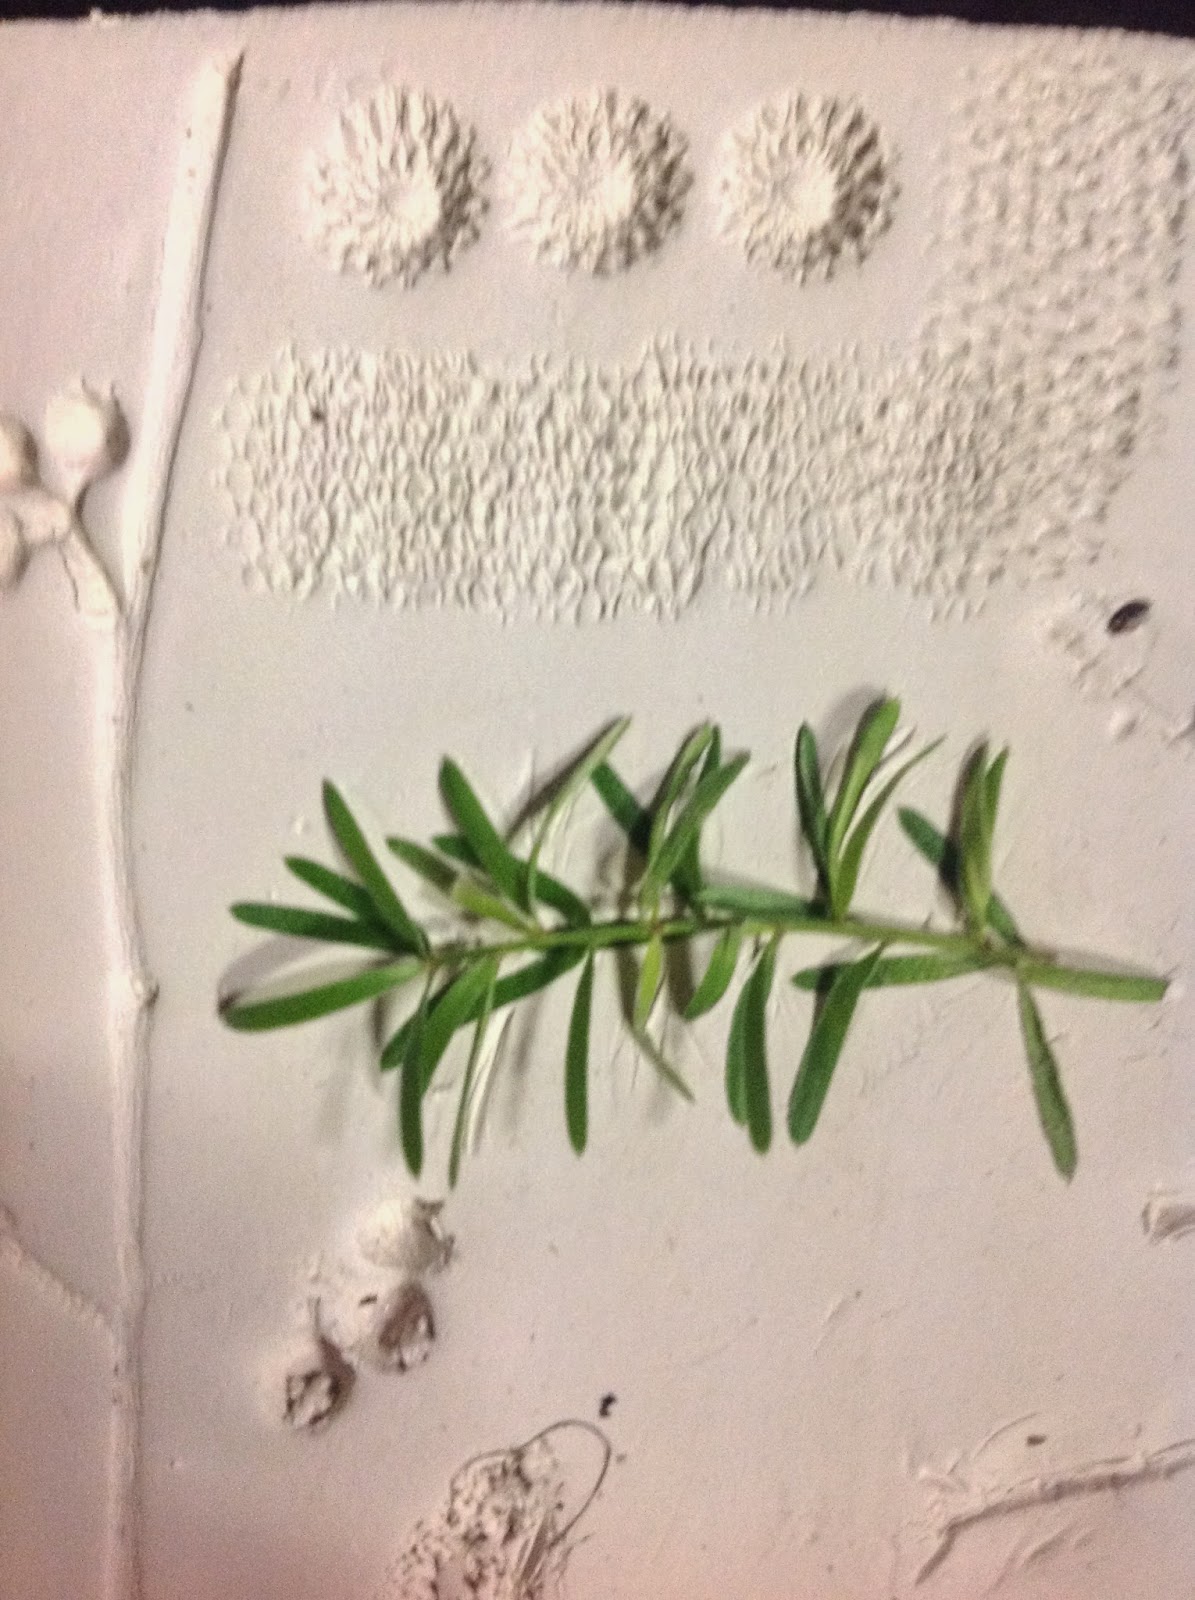
And they also kicked off their ceramic work by creating their own tiles with textures and imprints. This time I asked the students to take their clay outside to try out a variety of organic surfaces - bark, leaves, stones and so on.

Here are some of the unfired tiles:


Saturday, March 8, 2014

Great Workshop Held at the National Art School on Feb 14 for the Artist in Residency Program


Great launch of the fantastic Artist in Residency program involving Cabramatta High School, Merrylands High School and Fairvale High School. National Art School kindly provided their excellent art space and ceramic facilities (THANK you Merran Esson !) so we could run workshops for the students from the high schools on the day. And a special thanks to Rach Kirsten for her wonderful help rolling out the clay and cutting the tiles so professionally!


The Zentangle Tile Project:
Clay was rolled out the day before the workshop on a slab roller. Tiles were cut out to the size of half an A4 piece of paper and stored between wooden boards. Blackwattle Grogged White Raku clay was used, as well as some Keanes White Raku.

During the workshop, students were assigned two tasks: Firstly, they were given markers and a piece of tracing paper and had to draw a simple Zentangle design, using their names as the main design focus. Zentangles are a meditative way of making structured patterns. It is a very easy and effective way of building creative repetitive patterns and designs. The method was created in 2005 by calligrapher Maria Thomas 
and her partner, a former Buddhist monk Rick Roberts, as a meditational art form and their website is: www.zentangle.com


The next stage of the workshop was for the students to use slips (essentially coloured liquid clays) to paint their tiles. The students were told to not worry too much about how to put the slip on the clay, just select a few colours that appealed to them and brush the colours on. They were free to do whatever combination they wished. These coloured tiles will become the backdrop to the Zentangle design, which will be applied to the tiles via a Laser Toner Decal.


This next images are of some of the tiles drying with the Zentangle designs underneath them. The tiles have to be fired to 1000 deg before a clear glaze is applied.


* Updates on this project will be posted when the works are glazed and laser toner decals made.